Awesome! Did it spark and smoke with a big pop or just failed silently?
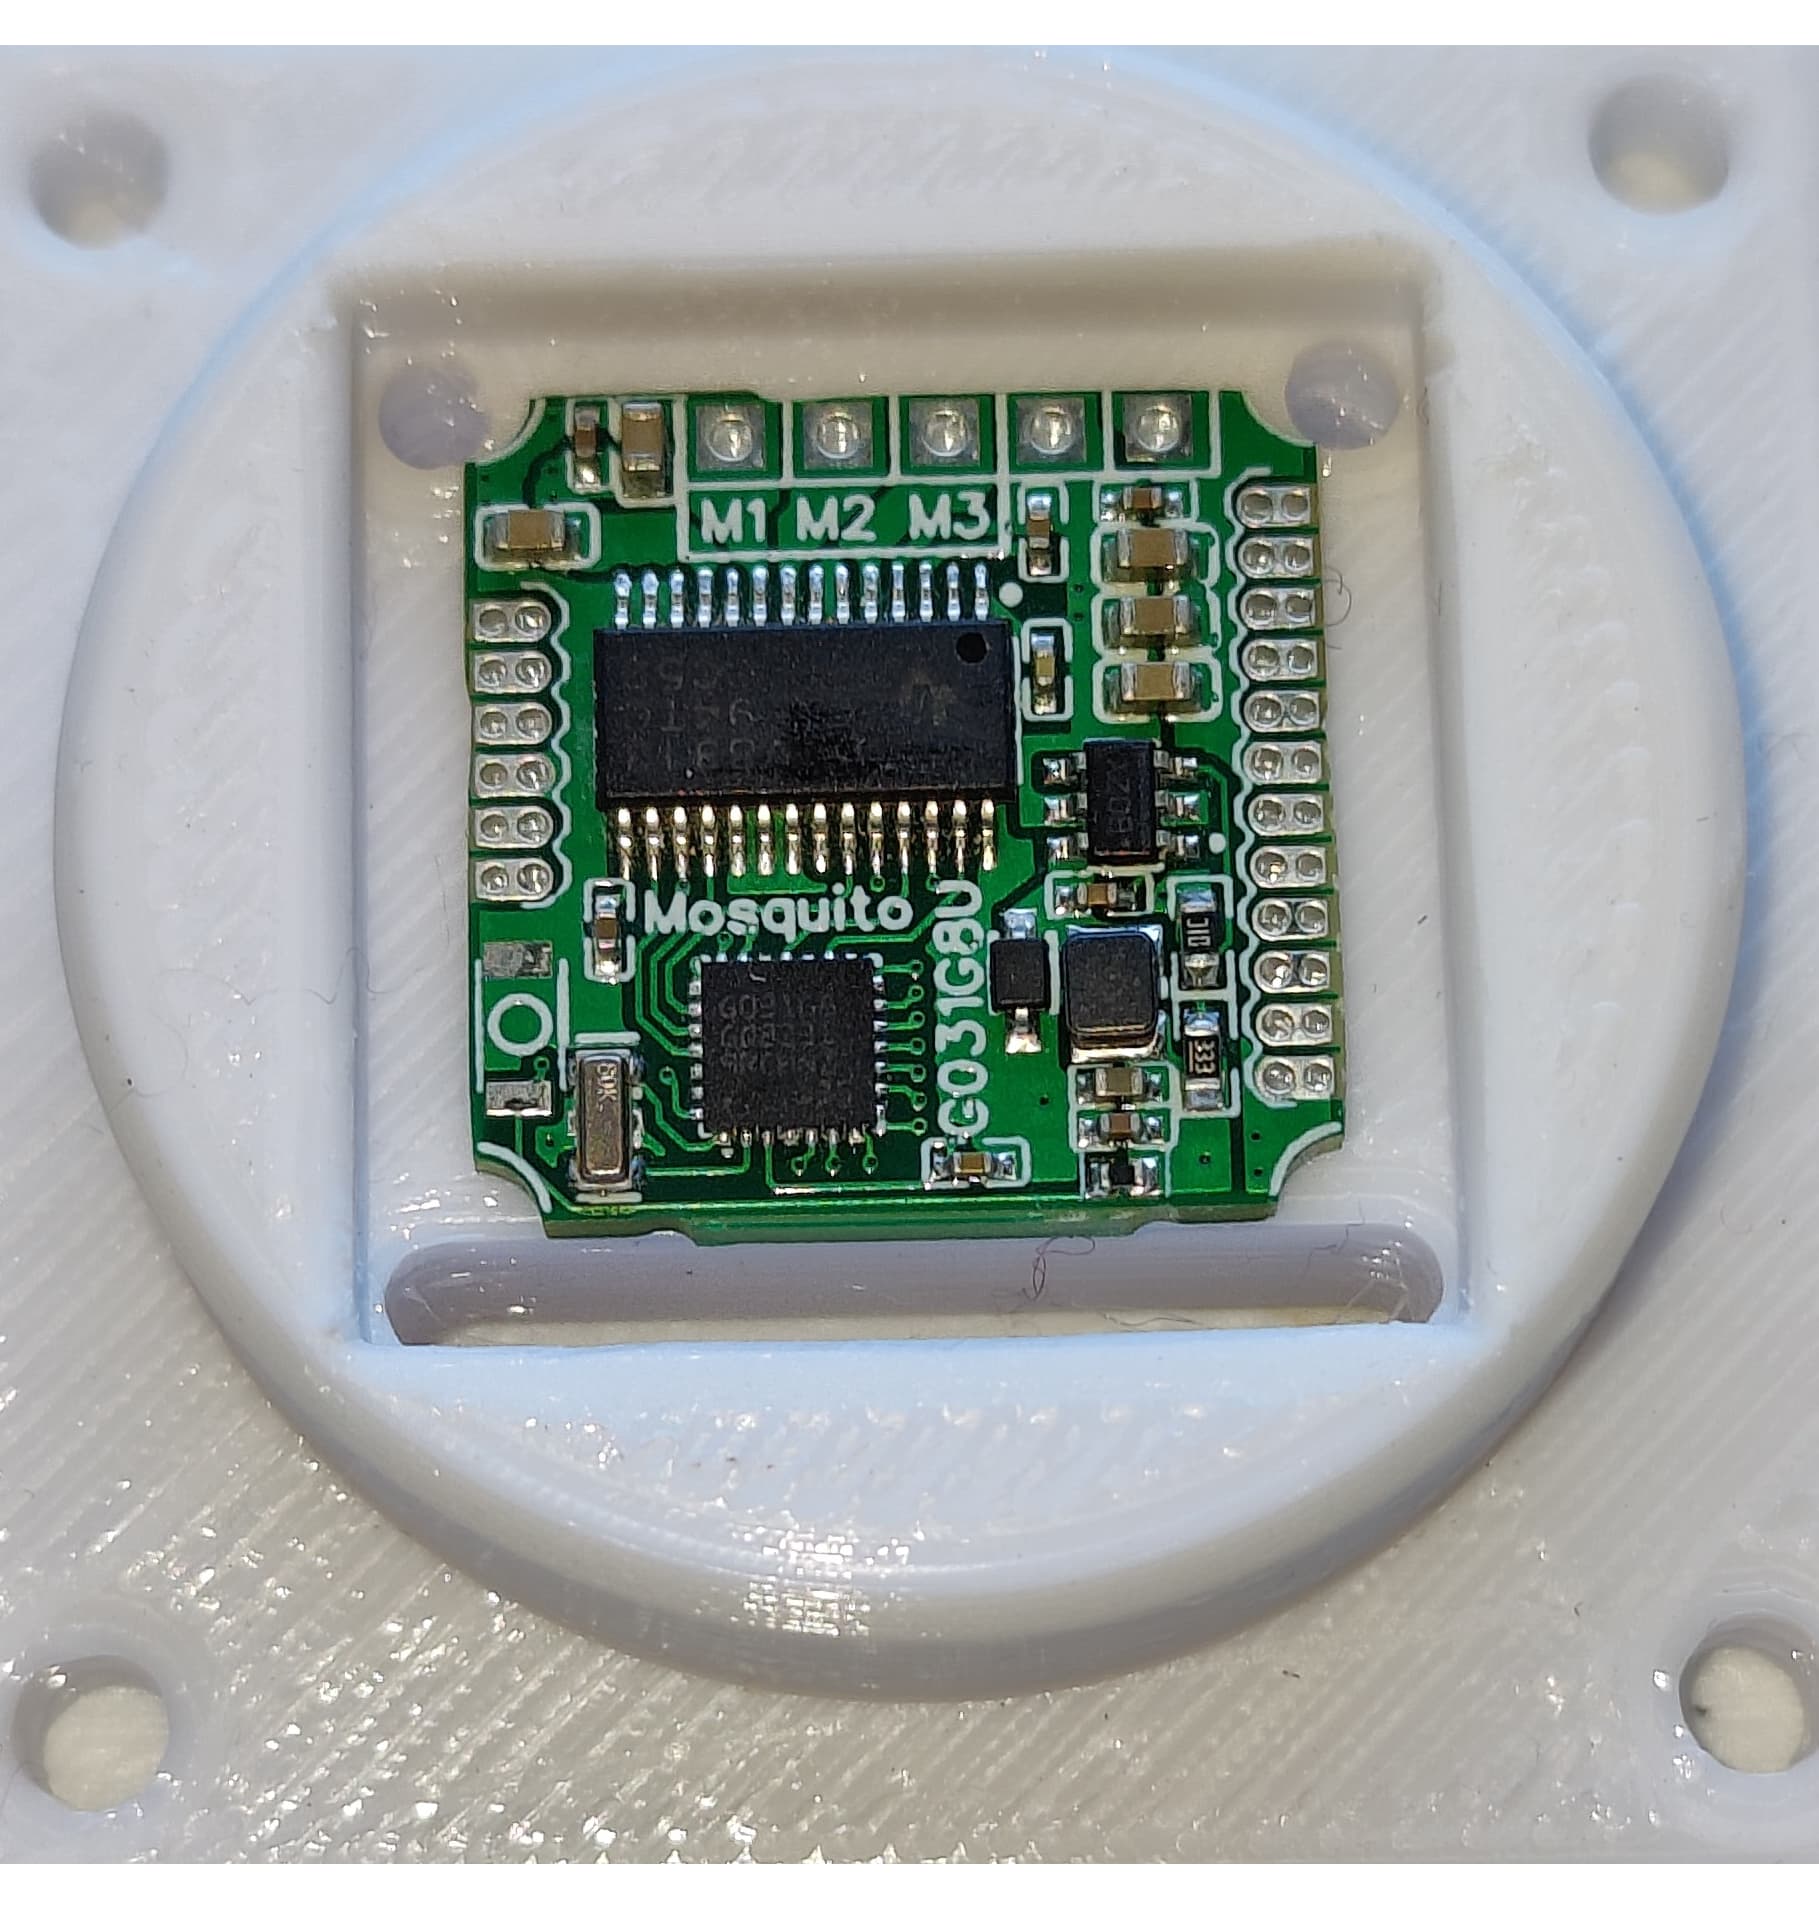
That’s great! Please post some pics.
I’m curious. Waiting.
This is really good news, it’s always nice to see new stuff being developed.
Cheers,
Valentine
Awesome! Did it spark and smoke with a big pop or just failed silently?
That’s great! Please post some pics.
I’m curious. Waiting.
This is really good news, it’s always nice to see new stuff being developed.
Cheers,
Valentine
Hi, thanks for the great work. I just ordered some pcb’s myself. Are you willing to share the “firmware”? It would be nice to use as a starter.
Do you use TX/RX to give commands to the driver board (e.g. via an Arduino)?
Regards, Aernout
Thanks. SimpleFOC is needed to run the board.
Please visit
Let us know if you have questions.
Cheers,
Valentine
Documentation for the board.
Thanks a lot. My PCB’s are in production and I can’t wait to test them out.
Yes but that would make the board twice as big and expensive.
Out of stock. My designs goals are to use in stock components only. There are many more much better options than 8313 to begin with, but all out of stock.
You dont have to use the encoder on the board. There are leads you can solder for external sensors. Ive already done external encoder optional board but didnt have time to post here, too busy. Ill post it later today if you are interested.
PS the encoders. SPI based on SC60228DC chip, there a dedicated thread about this chip here.
what ur opinion about hall or shunt resistor based inline current sensing in small board design?
which method should be given priority?
now im looking to small allegro
I lost a lot of time moving my workshop and can’t order boards and electronics due to the political situation, so I have more times and want to go deeper into the theoretical part of driver design.
Hall current sense is better imo.
Unfortunately it’s going to get a lot worse.
IMHO the hall sensors are attractive as they reduce component count (no need for a current sense amp) and thus make it easier to design and layout…
Not having a low voltage analog path (between shunt and amp) will probably have less noise.
When choosing, make sure the bandwidth is sufficient, but most models I’ve seen have more than enough.
Reasons not to use hall sensors can include power being too high, you have to be sure the sensor IC but also the copper traces to and from it will handle the current…
Valentine as i understand right for flashing new controller need to configure it over STM CubeMX?
What edits are needed?
Clocking from external frequency generator?
enable GPIO pins?
enabling peripherals like UART, SPI, CAN. How can this be combined with Arduino?
I looked to CUBE and them does not have arduino framework.
My skills with arduino are now in platformio, I flash the current bluepill via Stlink using.
Cube is also installed and I started studying a year ago right away with STM, so I can configure the periphery.
I can’t order a mosquito yet, because I am waiting for the production of the union pay card.
Is it possible to record a video of basic configuring process for new MCU?
it would be very informative for designing custom boards.
I work only with Arduino IDE. I’m not familiar with other IDEs or toolchains.
There are plenty of very professionally done youtube videos of flashing STM MCUs with Arduino. Including original videos by ST Micro.
https://www.youtube.com/results?search_query=arduino+stm+st-link
Cheers,
Valentine
You can use PlatformIO…
Make sure the STM32 platform is installed. There are also detailed instructions for using PlatformIO in our SimpleFOC Docs: PlatformIO | Arduino-FOC
And Valentine’s excellent Mosquito User Guide (see PDF in this thread above) has detailed instructions on how to connect the ST-Link to the Mosquito…
Let us know if this is enough to get you started, or if you have further troubles…
I just thought I’d chime in. This board looks really cool and I want to try it out in small combat robots (1lb/3lb).
I was able to get 3x boards (april 30th version) on OSHPark for $6.40 USD, and most of the parts on lcsc (4-6 of the expensive parts, and 20-400 of the cheap ones) for $59 USD (shipped to me in Canada). I got their last MS8313, but grabbed another 10 “DRV8313” (possibly just MS8313) for $21CAD, and 10 LMR14006 fpr $14.93CAD.
I’m just waiting on the PCB and the 10x DRV8313 (although I can start as soon as the PCBs arrive). They should clear customs and arrive this week.
That puts the effective BOM at around $25 USD/unit, which is darn reasonable if I can get it working ![]()
I’ll be doing all the solder paste by hand under a cheap USB microscope, so there’s always the possibility of screwing up, particularly with the STM32. I might have an old stencil with that profile that I can use though to get that right.
Hello @Magneon
Thank you. This is very educational. I admire your dedication. Especially nahd soldering the g031, that’s really extremely challenging.
Please post any pictures, and share your experience. Also, any suggestions on improving / bettering / critiquing the board design would be also very helpful to the community.
Cheers
Valentine
I’ll be reflowing the top on a hot plate, just hand placing the paste+parts ![]()
I draw the line at pads entirely under parts ![]()
I’ve seen people reflowing on top of a hot kitchen stove or household iron with incredible results, but then I’m not that brave. Please do not injure yourself.